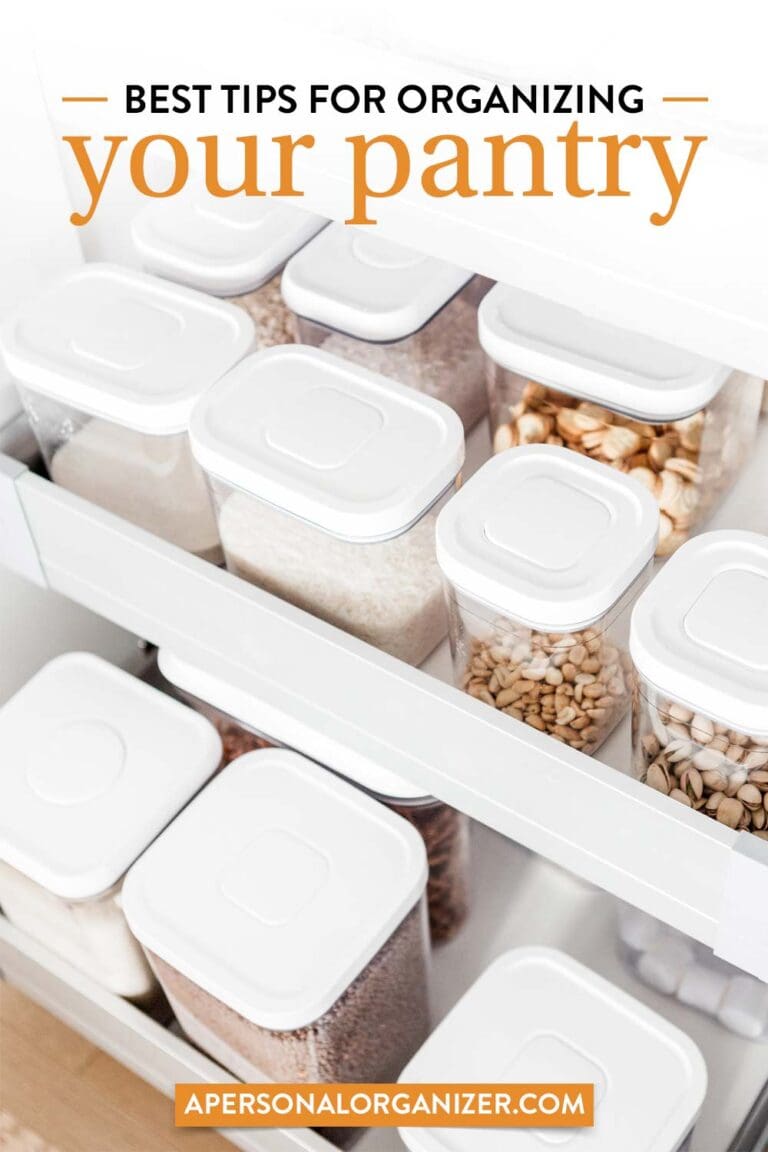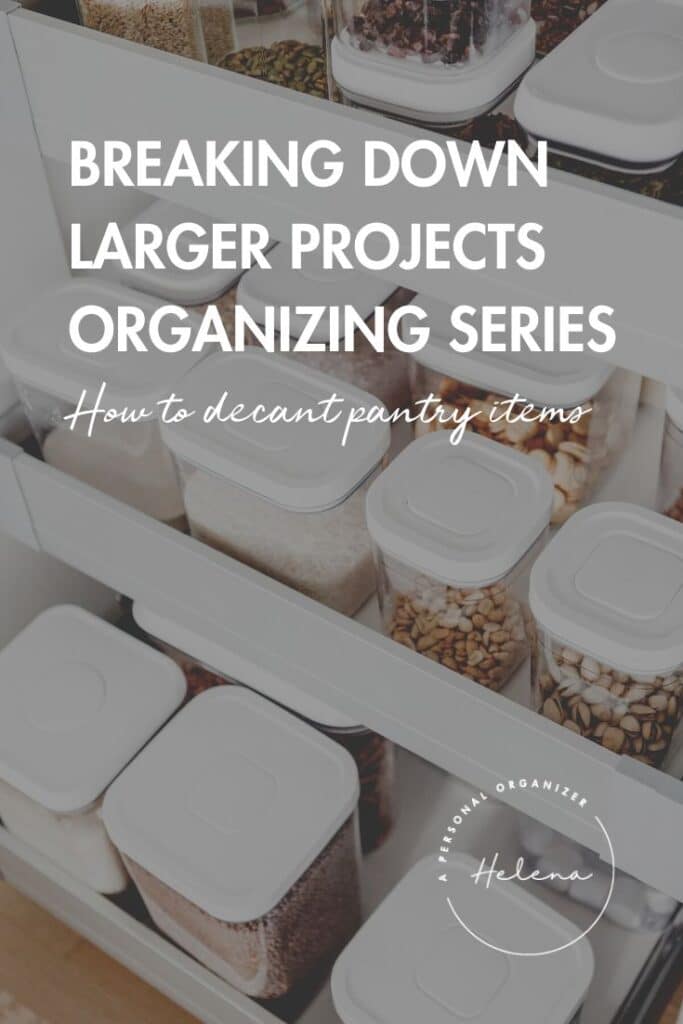
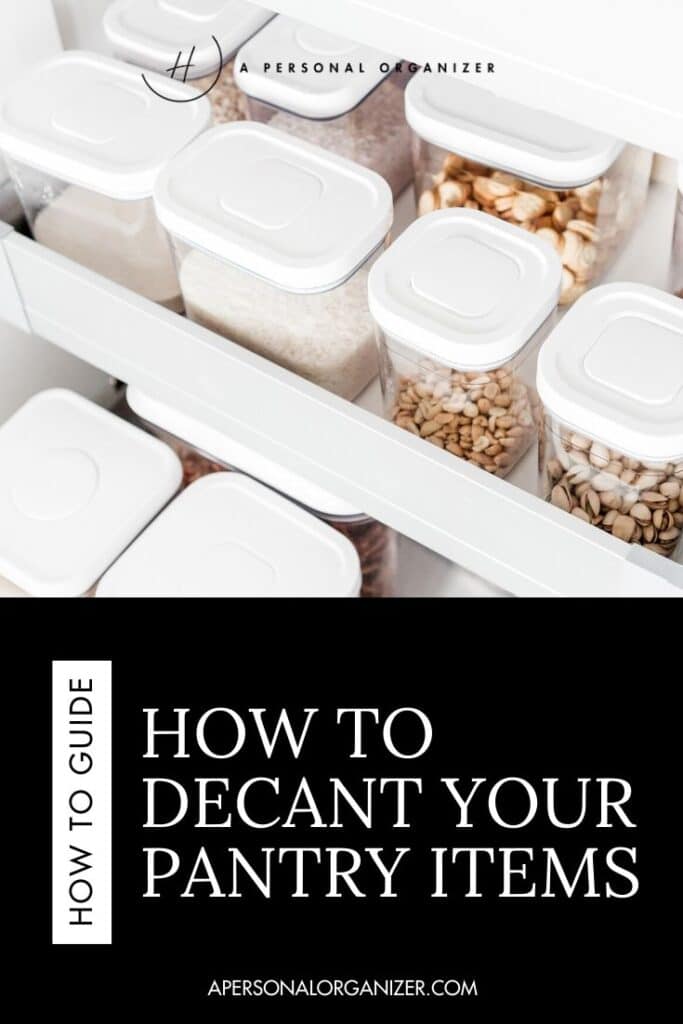
Use These Tips To Decant Your Dried Goods And Create Your Dream Pantry
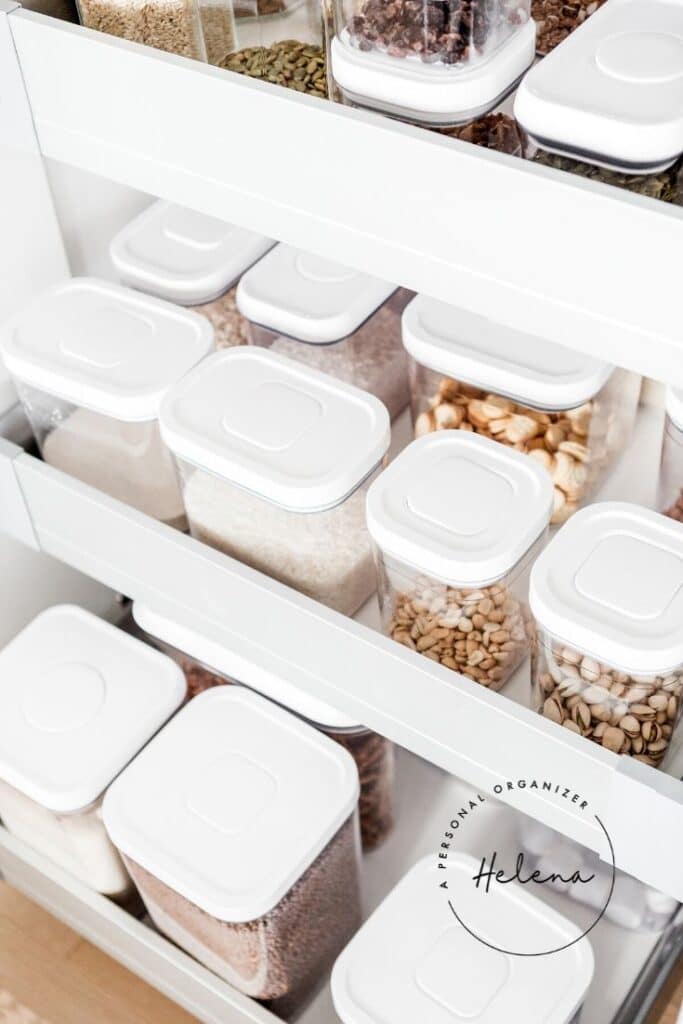
Ah, those perfect pantries. We all want to head into the kitchen and be greeted by a fully stocked and perfectly organized pantry with beautiful decanted containers holding all that goodness you have in stock.
While organizing has nothing to do with perfection or aesthetics, decanting your food into containers will make your pantry look like a million bucks!
Do you think these social feed-worthy pantries are beyond your reach? Think again! We can get you there step by step. One of the first and most impactful parts of getting a beautifully organized pantry is decanting the dried goods in your pantry.
In this post, I’ll share the step-by-step and two pro-organizer tips to help you avoid costly mistakes and extra trips to the store. Shall we start?
Why Decant Your Dried Goods?
There are so many benefits to decanting your dried goods. Of course, it looks great, hello #pantrygoals. But it also saves you time and money and is healthier.
Here is a breakdown of some of the benefits of a decanted pantry.
A Healthier Pantry
Decanting dried goods like beans, nuts, seeds, cereal, and dried fruit has health benefits. Food that is opened and left in store-bought packaging is usually not properly sealed and can lead to contamination, staleness, and spoilage.
Be sure to check your dried goods with a higher moisture count, such as walnuts, more often once they are decanted for freshness.
You Save Money
When properly stored and labeled, decanted foods have a longer shelf life. They are less likely to go stale and are less prone to contamination.
Once a container of dried goods is contaminated, you have to toss the whole thing.
By decanting, you can protect your food for longer and save yourself from having to buy it repeatedly.
You Save Time
A decanted pantry lets you clearly see what you have and makes creating a shopping list much easier.
When it comes time for meals, you can easily access everything you need to cook.
When you know what you have on hand, meal planning and prep are also much easier and more economical. You can tweak your recipes for a particular week if you see that you need to use certain ingredients before they expire to avoid food waste.
Here Are 5 Steps To Decant Your Pantry
Pantry Organizing Step 1 – Clear It Out
Empty your pantry, cabinet, drawers, wherever you have dried goods stored in your home. Wipe all the shelves and surfaces down. Leave doors and drawers open and let everything thoroughly dry out before you put your pantry items back.
Pantry Organizing Step 2 – Take Stock
Look at the dried goods you have that can be decanted. Some of the most popular decanted items to keep on hand are pasta, rice, beans, cereals, dried fruits, and nuts. Toss anything that is expired or gone bad.
If there are any items that have only a serving or two left, you can plan to use those this week in your cooking. If they are items you keep in stock, you can decant them because when empty, you will be replenishing that item, and the container won’t go to waste.
Pantry Organizing Step 3 – Choose Your Containers
You should choose your containers once you see what you have to decant. Avoid plastic if you can, opt for glass storage, and pay attention to the two steps below. (link to storage containers)
TOOLS YOU’LL NEED

Pantry Organizing Pro Tip!
1 – Before committing to any item, it’s important to make sure your new containers fit in your pantry. Here is how to plan it:
- Count the number of containers you’ll need to decant everything you want.
- Measure the container you decide to use and multiply by the number of containers you’ll need. This total is how much linear space you’ll need in your pantry to accommodate your containers. Skipping this step is a common mistake people make when planning their organizing projects, so don’t do it!
- Once you know your new containers will fit in your pantry, move on to step 4.
2 – Another important part of decanting your pantry is purchasing containers according to your consumption of any specific item.
Here is what I mean.
If you consume a pound of black beans a week and don’t want to replenish that container every week, you should look for a food canister that can hold 2 pounds.
On the other hand, if you consume a cup of lentils a month,, you should purchase a much smaller canister.
Personally, I like to work with three sizes of food canisters: small, Medium, and large, even if that means having leftover space in some of them. This simplifies your planning, purchase, and pantry’s final function, as you can stack them.
TOOLS YOU’LL NEED
Pantry Organizing Step 4 – Decant & Label
Now, add your dried goods into the containers you selected for this organizing project.
Be sure to label each container with the contents and the expiration date from the package. You can also use adhesive pockets to place the cooking instructions like this one.
Labeling is a crucial step to keeping decanted goods fresh and healthy. Once you get rid of the store packaging, you will need to keep track of your food’s shelf life.
You can use chalk or dry-erase pens, write on labels, or create your own, as I did with my Cricut machine here.
TOOLS YOU’LL NEED
Now That You’ve Decanted Your Pantry
Sort Like With Like
An expression I frequently use to clarify this step of any organizing project for my clients is, “Everybody has a family, and every family has a home.” So, our next step in getting your pantry in tip-top shape is to get your “families” together.
Place everything on your counter and then sort “like with like”. This step makes your pantry super easy to restock and use at mealtime.
It’s Time To Organize
Assess what you have to put back into your freshly cleaners pantry, shelves, cabinets, and drawers.
Organize your items, like with like as you sorted them, back into your pantry area. Try to place the items you use most in spots that are easy to access, leaving the hard-to-reach areas for less-used items.
You might also want to organize by category, such as baking, soup making, breakfast, and snacks.
Conclusion
A decanted pantry looks great and saves you time and money.
When you can see what you have on hand, you can plan your meals around it to prevent waste. You will also save yourself the hassle of having to run to the store every day because you forgot that you didn’t have an ingredient.
The health benefits of decanting your dried goods are another pro to making decanting your pantry your next weekend project.