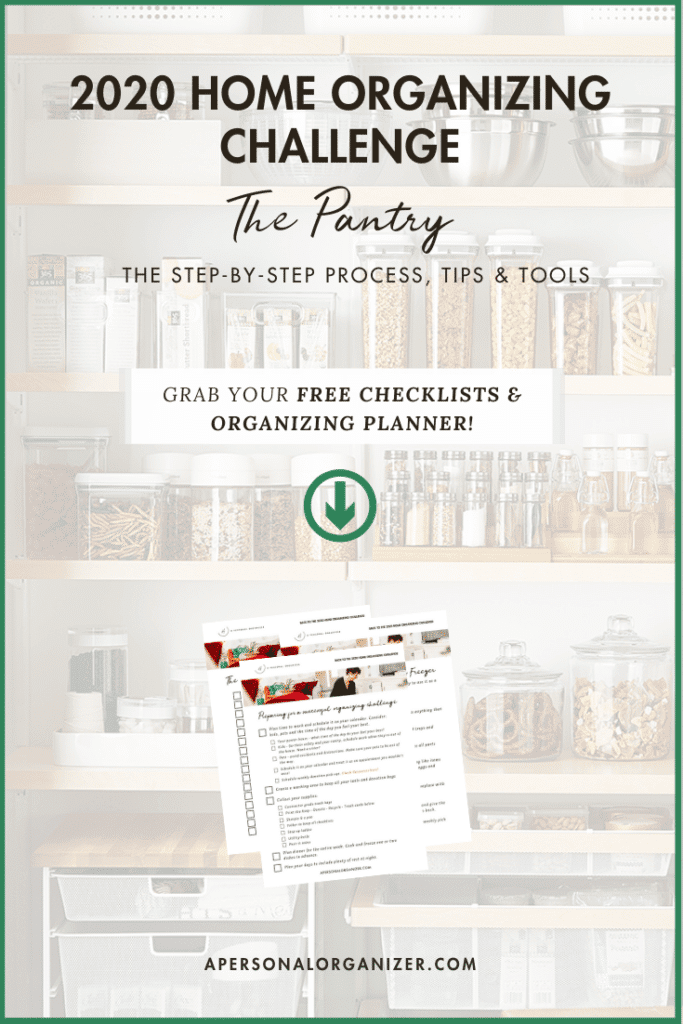
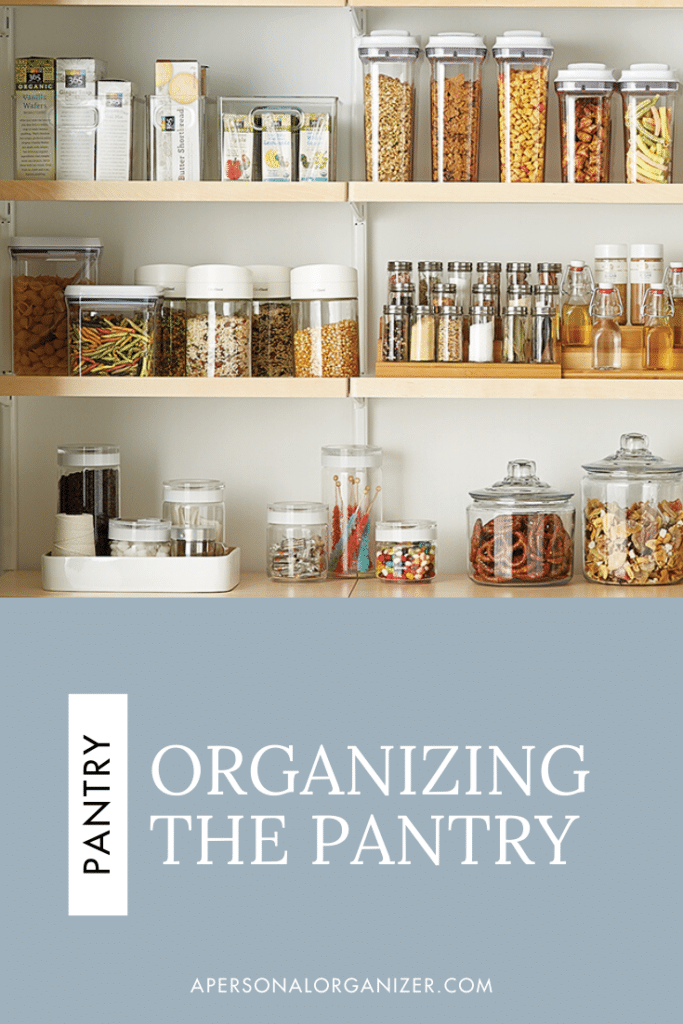
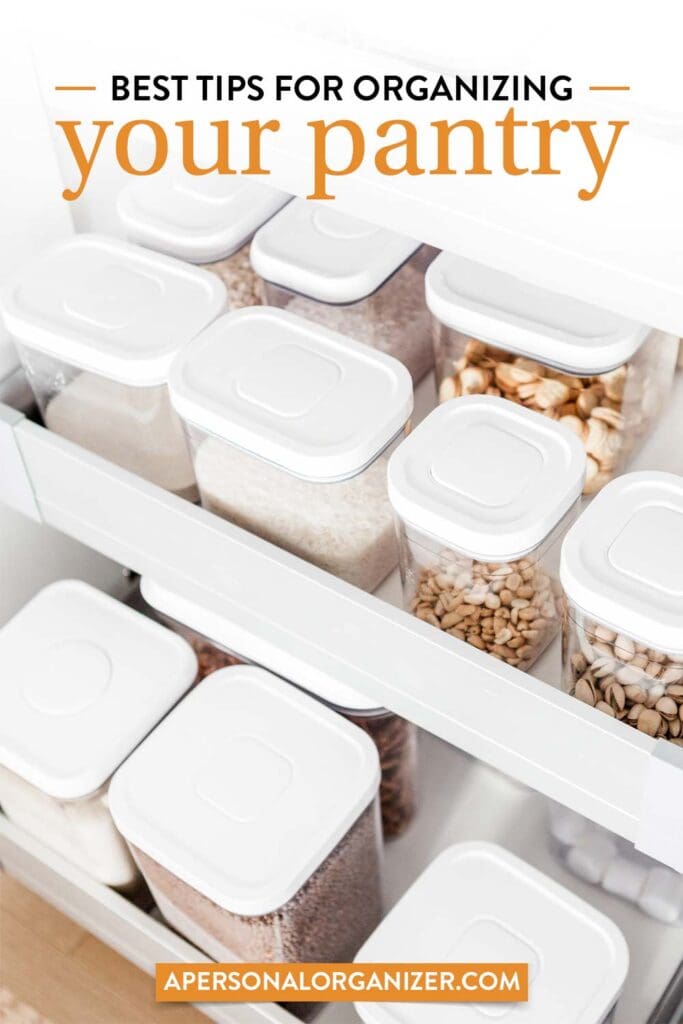
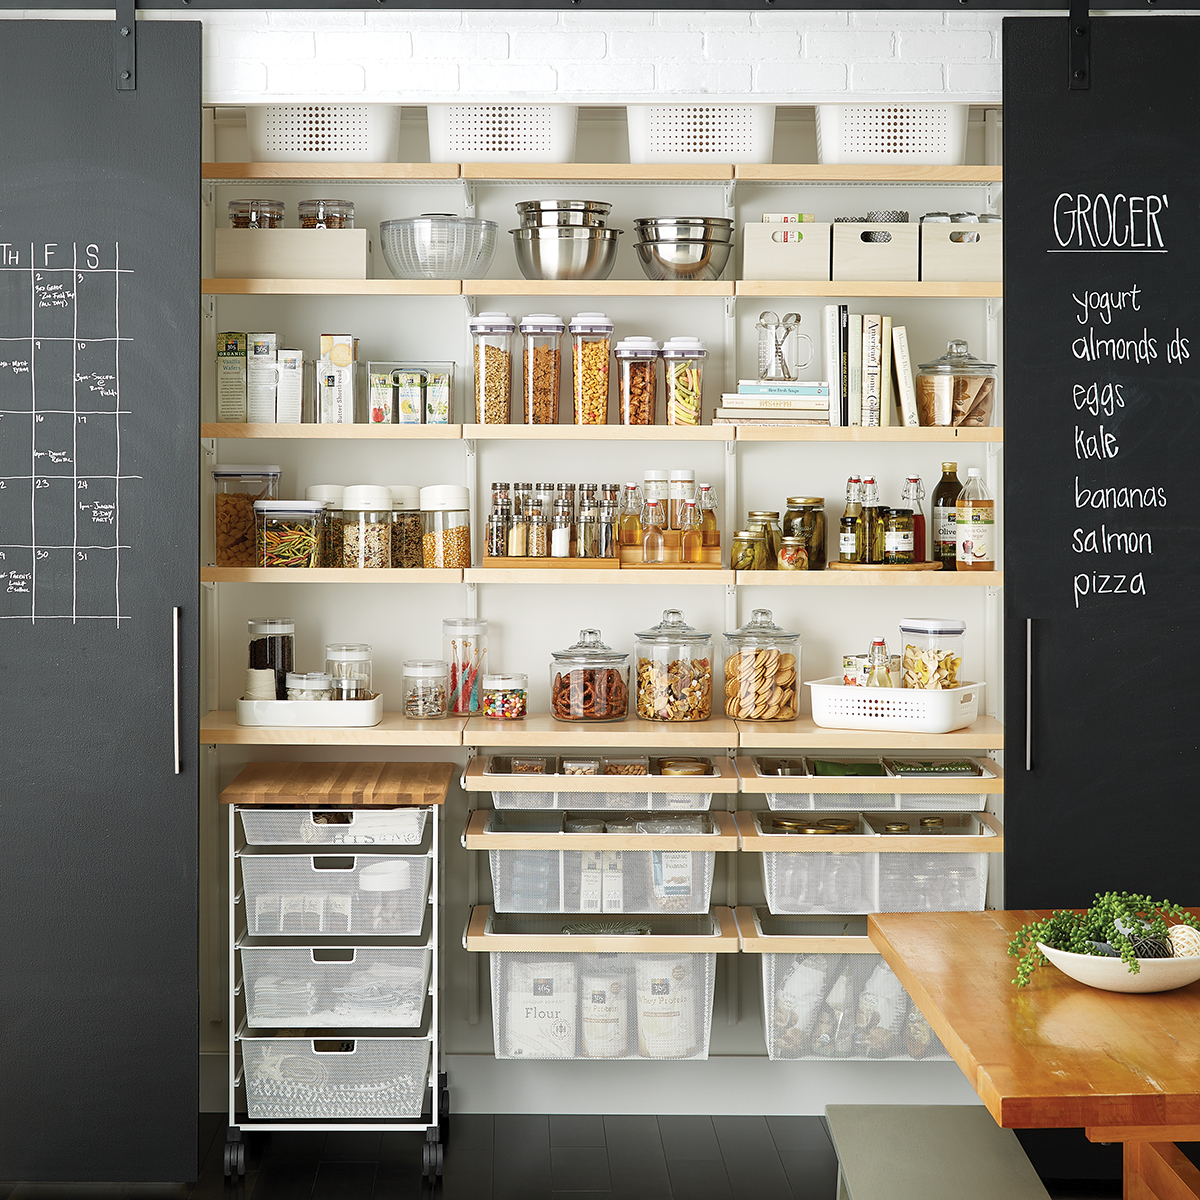
Our best tips for organizing your pantry and decanting dried goods.
We tackled the kitchen in the first week of our 16-week organizing challenge. Today, in week 2, we are going to declutter and organize your pantry.
Much like a well-organized kitchen, an organized pantry will also save you time and money and help you and your whole family eat healthier.
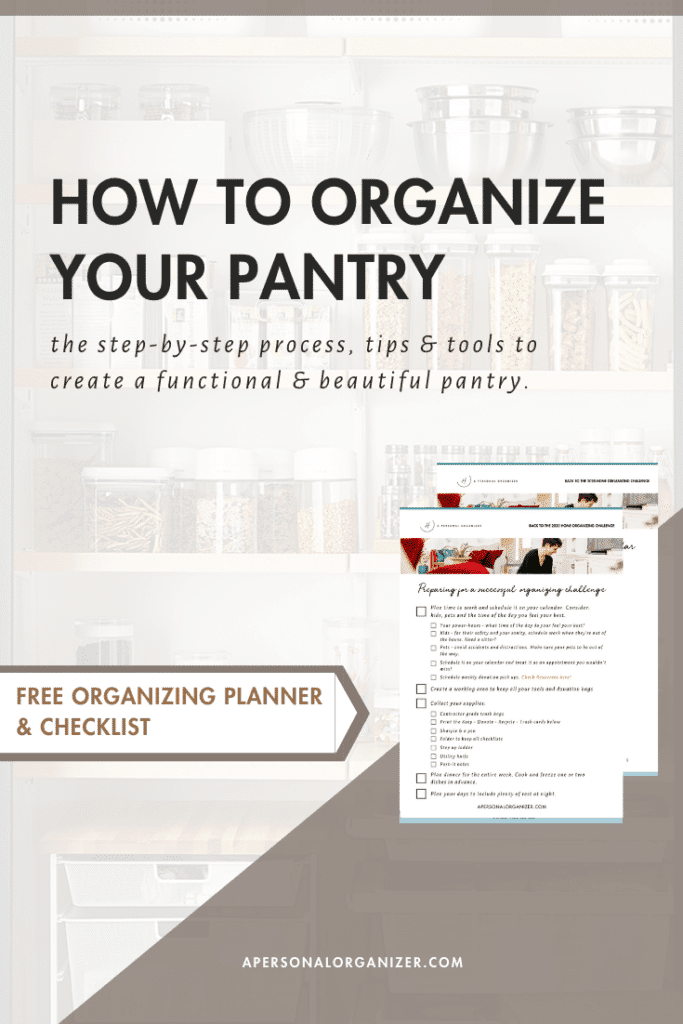
Let’s get started organizing your pantry! We’ll begin with the steps listed below to organize the pantry. Next, we’ll dive deep into an optional improvement you can make when getting your pantry organized: decanting your dry goods.
Decluttering And Organizing The Pantry
- Clear off your kitchen table and your counters completely. You’ll be using this as a catch-all for this part of the decluttering and organizing challenge.
- Clear everything out of your pantry and put it on your kitchen table.
- Clean it! Now that your pantry is completely cleared, you thoroughly clean every surface in here. Pantries are full of crumbs, spills, you name it. I like to keep my vacuum cleaner handy when organizing any space.
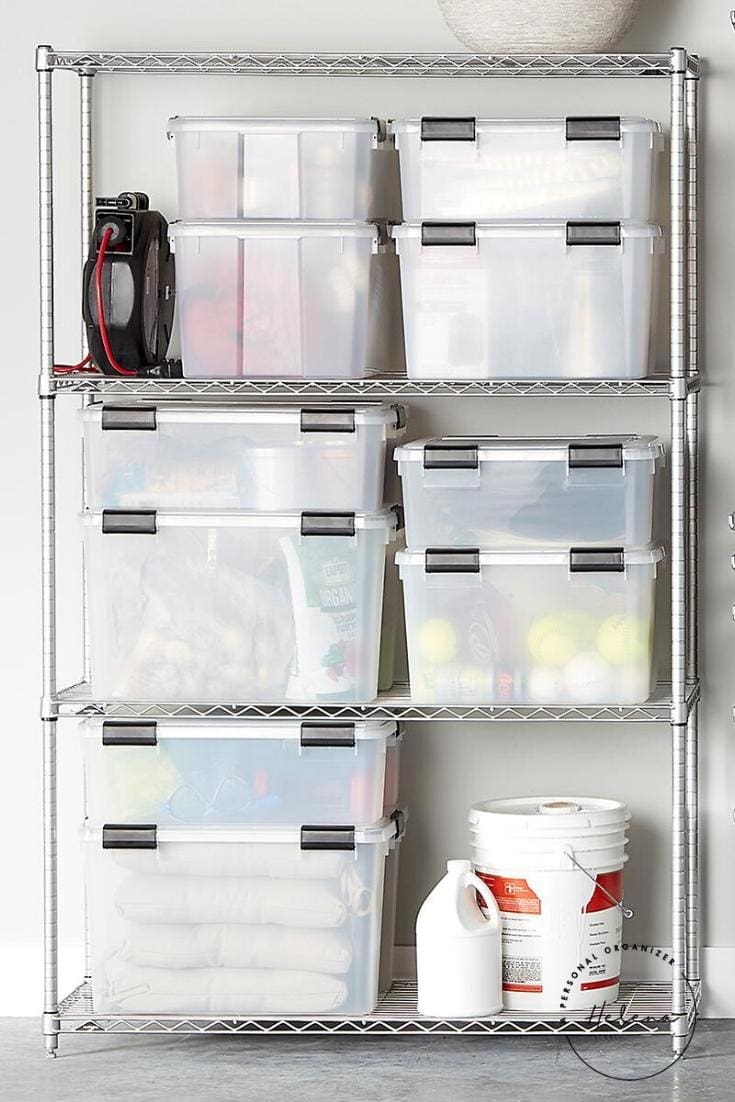
- If you have pets or other bulk dry items, consider placing large plastic bins on the floor to store these.
- Place large appliances you do not use often on the higher or very low shelves.
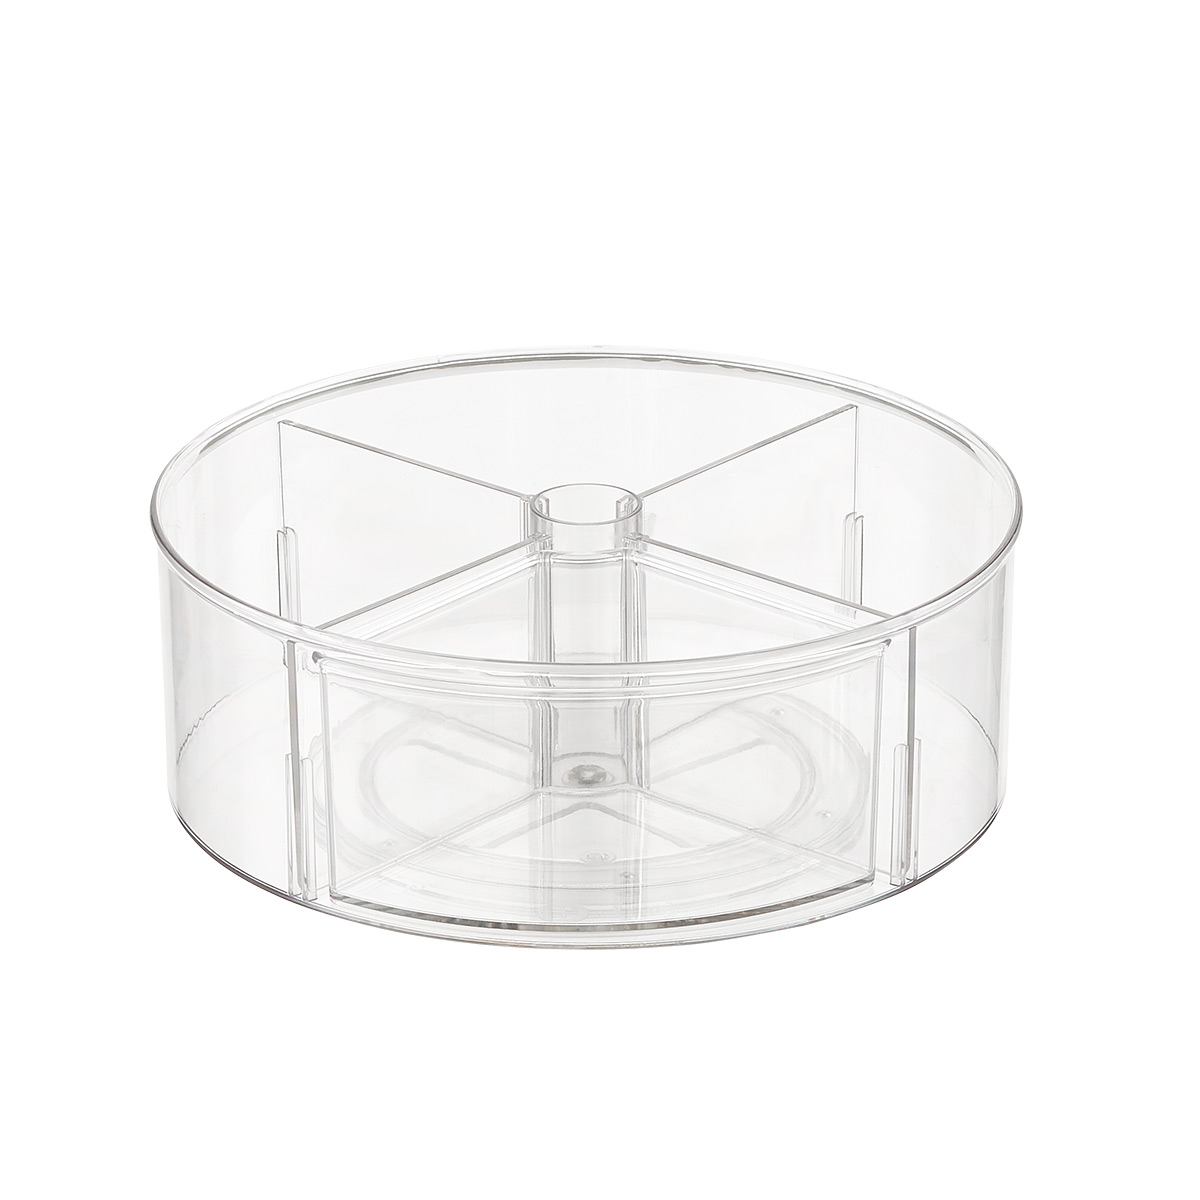
- Contain the mess. Place items that spill easily and tend to be extra messy (remember that cleanup you just did?) in plastic containers, sealable bags, or turntables. This will contain any mess if a spill happens. I keep all our oils, baking spray, and vinegar bottles on a lazy Suzan.
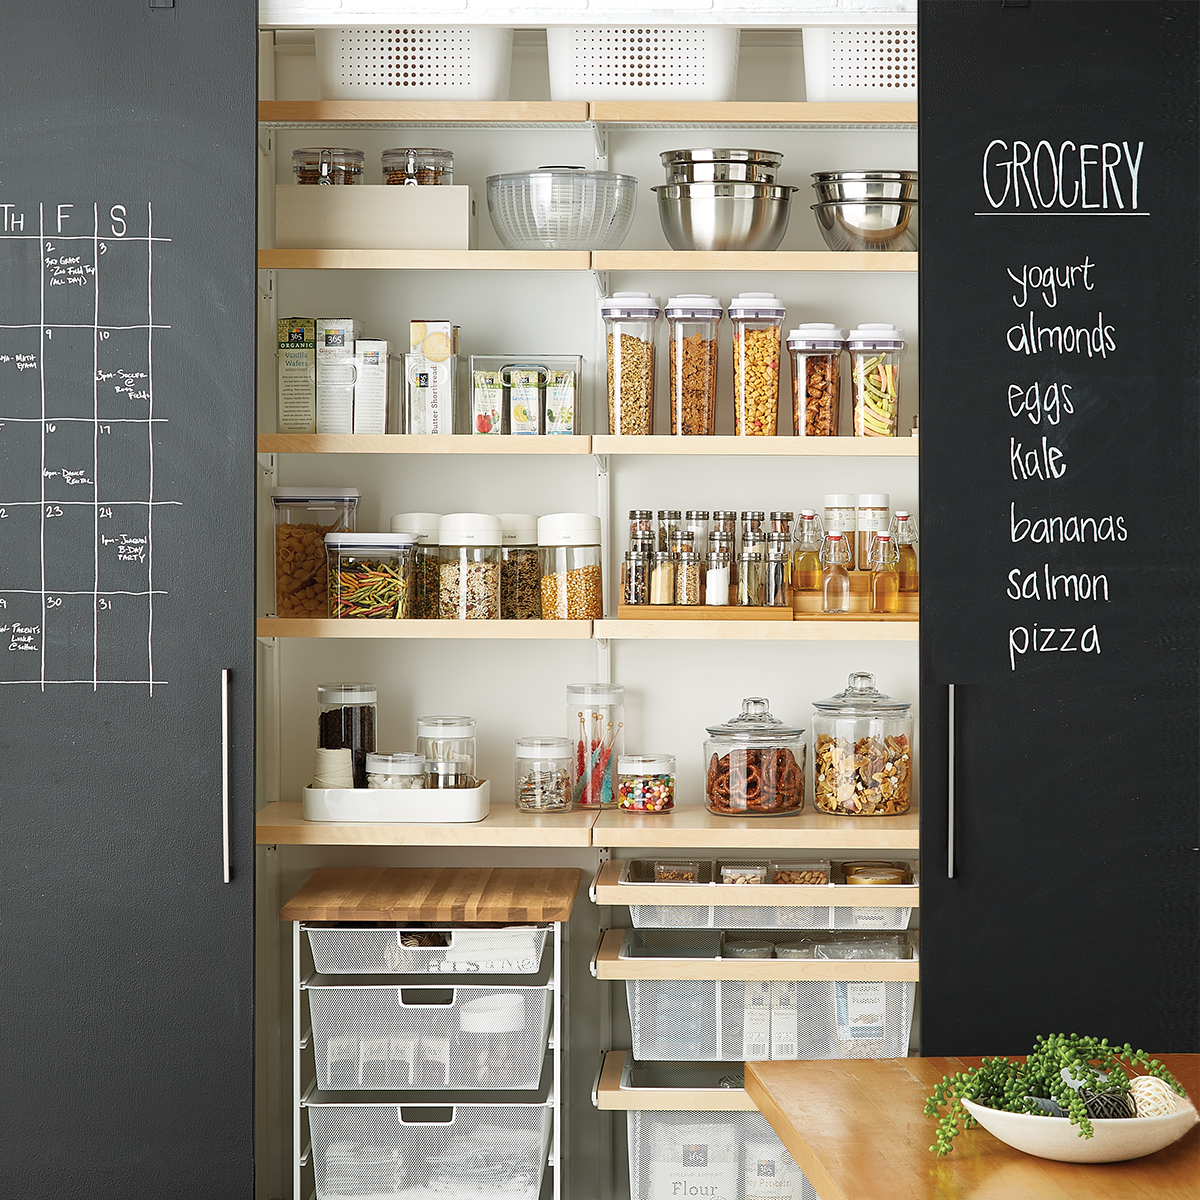
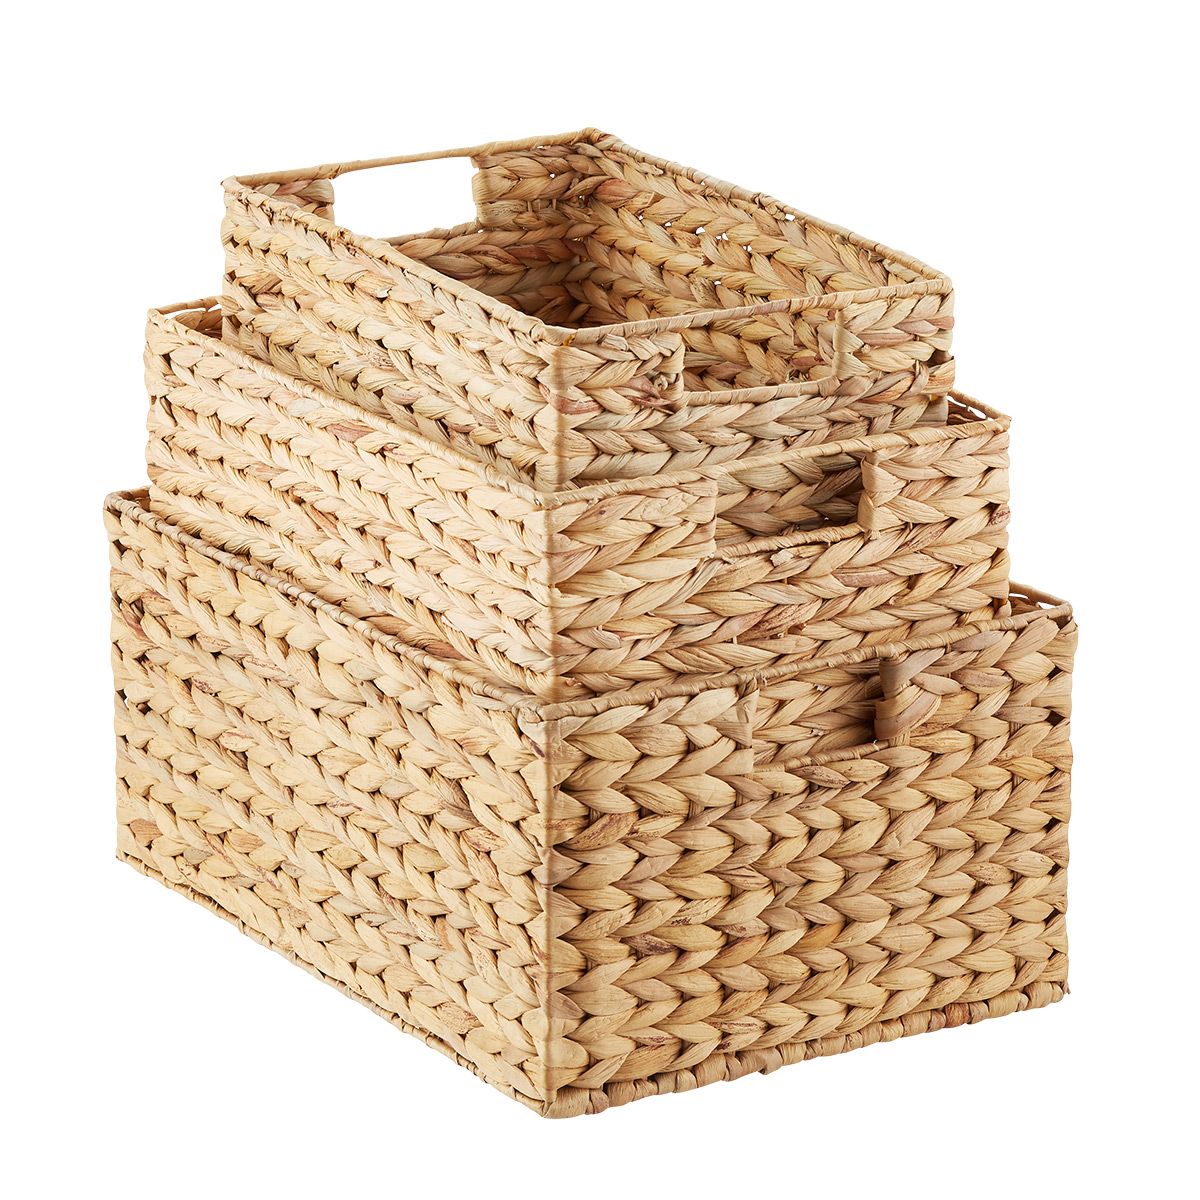
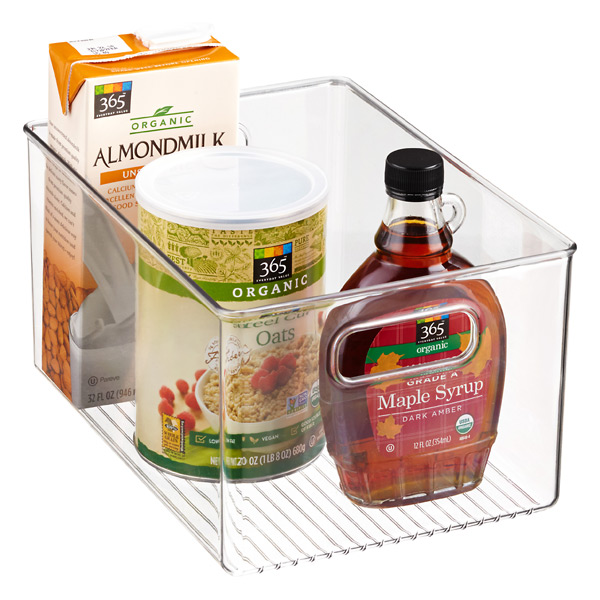
- Organize your pantry items. Cans, dried pasta and rice, and condiments. Consider placing all of your baking items in a basket so you can easily pull everything out at once when it is time to bake.
Decanting Your Pantry Items
Decanting dry goods in the professional organizing world is relatively new (maybe 4-5 years?). I think the gals at The Home Edit were the ones who made it so famous, but of course, I can be wrong.
We used to group like-items together using bins and baskets simply, but now, decanting is all the rage!
Decanting your dry goods is an optional step of the pantry organization.
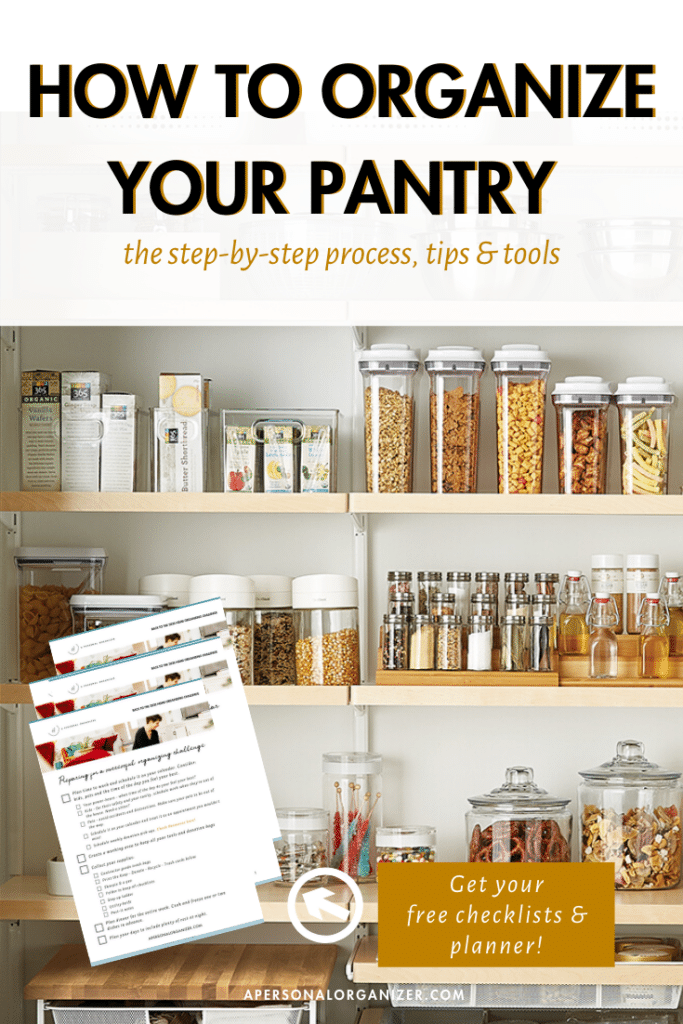
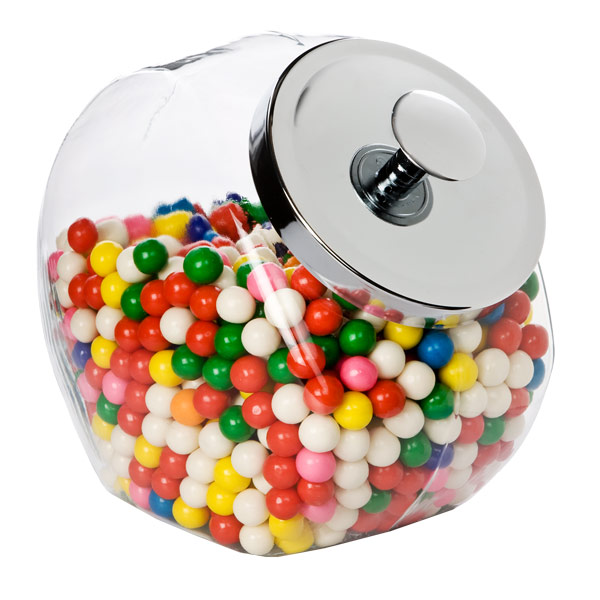
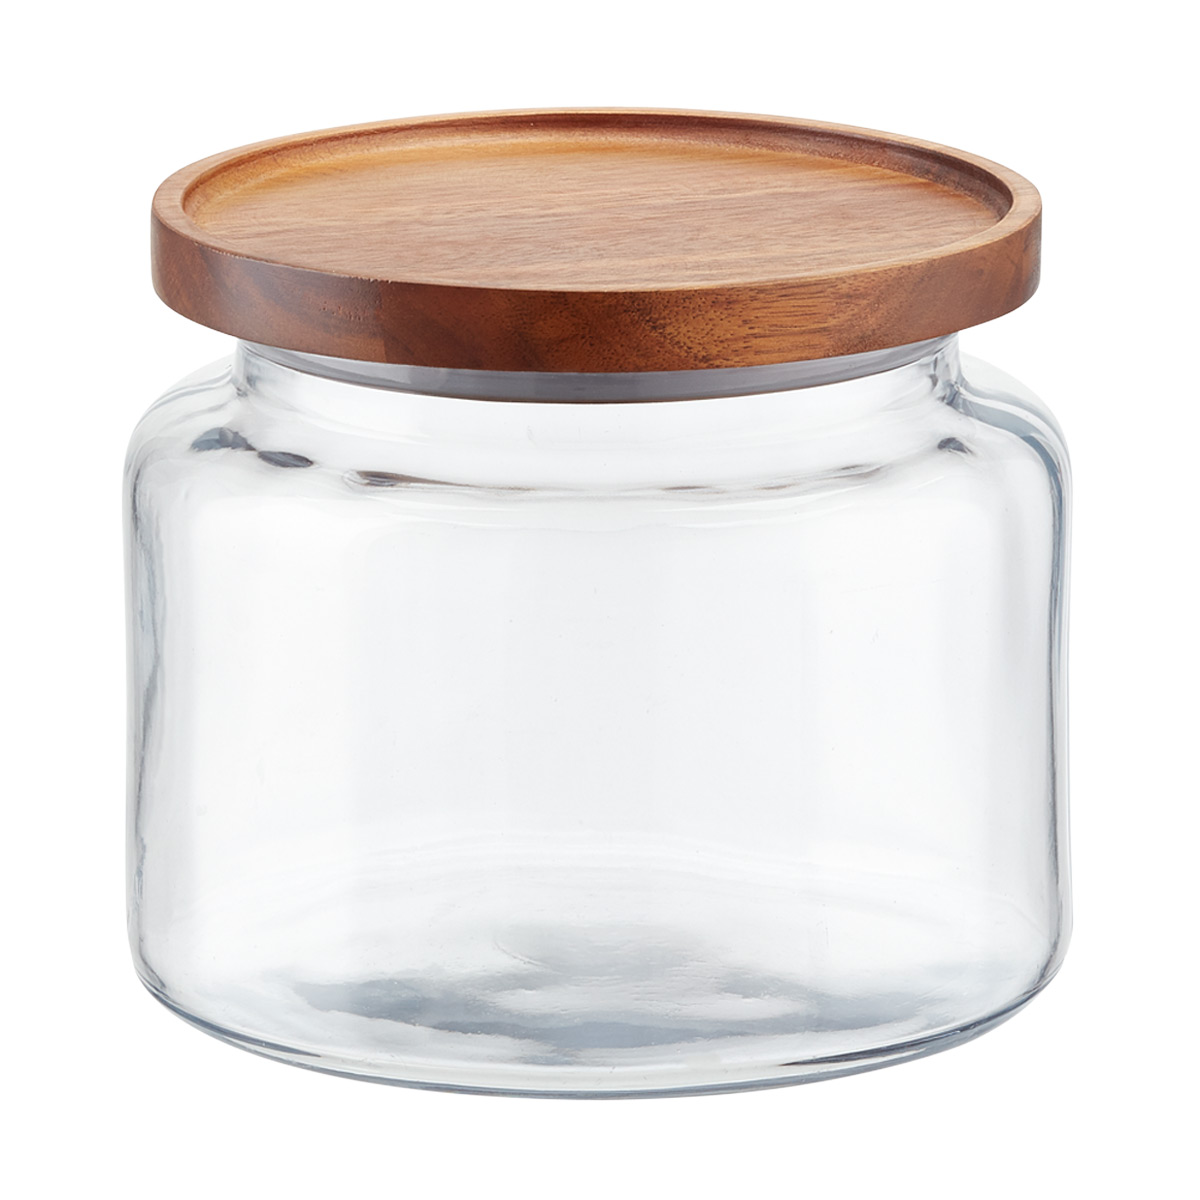
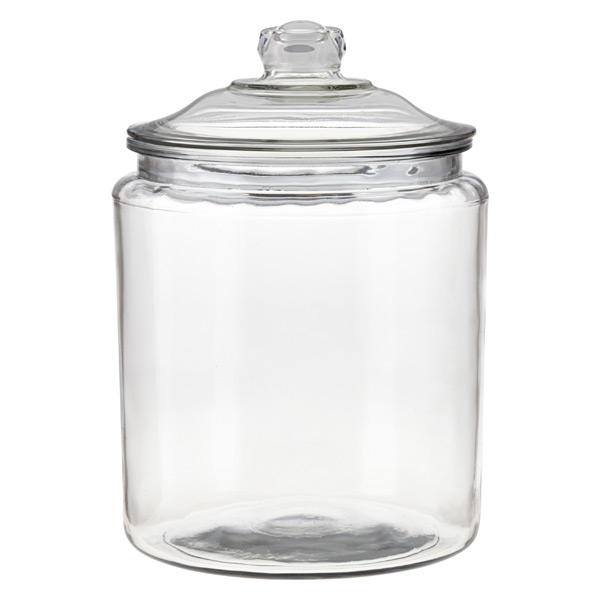
Whether you’re a fan of it or not, decanting dry goods into glass jars or other food storage containers will make your pantry look cleaner and less cluttered.
It’s like using the same type of hanger for every item hanging in your closet. It has more to do with an aesthetic choice than with “organizing” itself, so don’t let it stop you.
TOOLS YOU’LL NEED

The Step-by-Step Process to Decant Your Pantry Items
Now, we are going to go step-by-step and show you how to decant pantry items properly. You’ll want to have the pantry organizing checklist on hand as you organize your pantry, so it’s ready when you get to the step when you are taking stock of your dry goods.
- Clear it out. Empty your pantry, cabinet, drawers, wherever you have dried goods stored in your home. Wipe all the shelves and surfaces down. Leave doors and drawers open and let everything thoroughly dry out before you put your pantry items back.
- Take stock of the dried goods you have that can be decanted. Some of the most popular decanted items to keep on hand are:
- pasta,
- rice,
- beans,
- cereals,
- dried fruits,
- and nuts.
- Discard anything that is expired or spoiled.
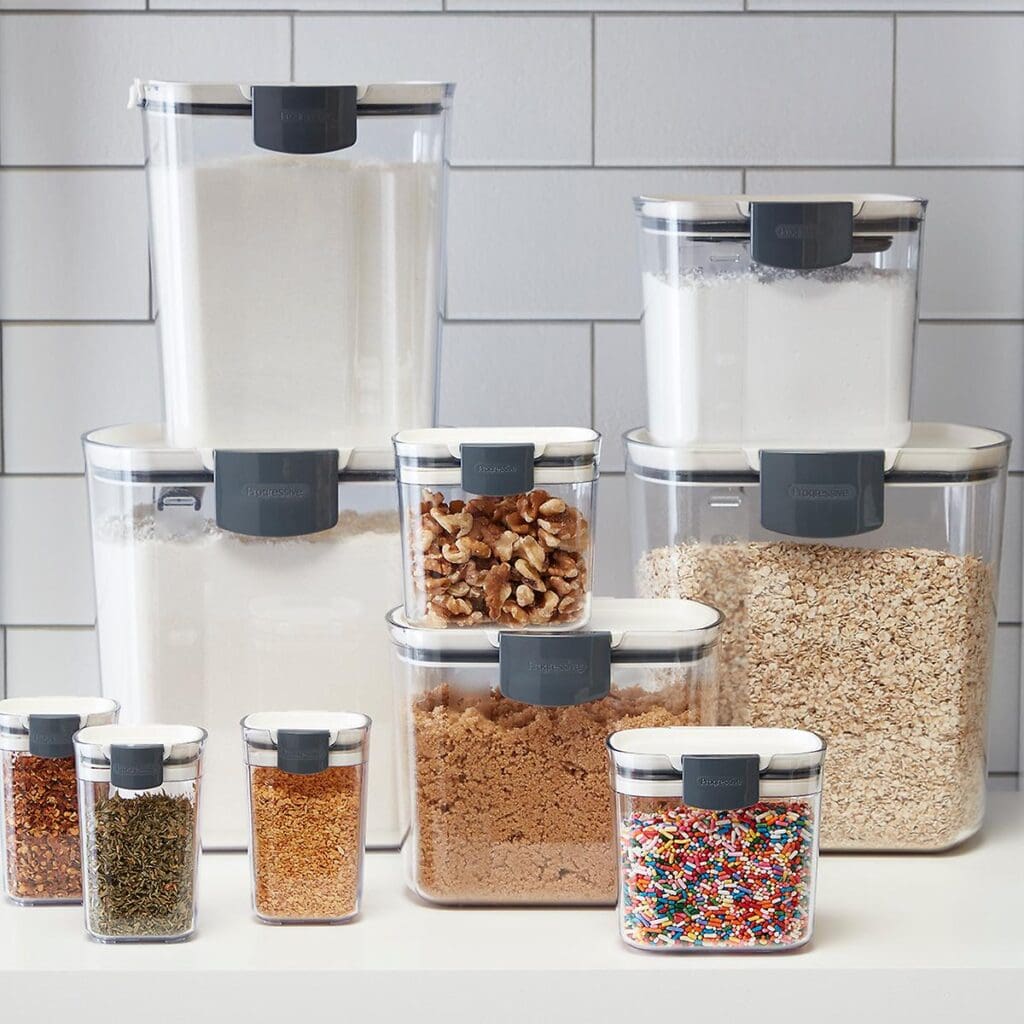
- Choose your containers based on what items you need to decant. Try to opt for glass jars or containers instead of plastic if you can.
- Decant. This is where you will add the dried goods to your chosen containers.
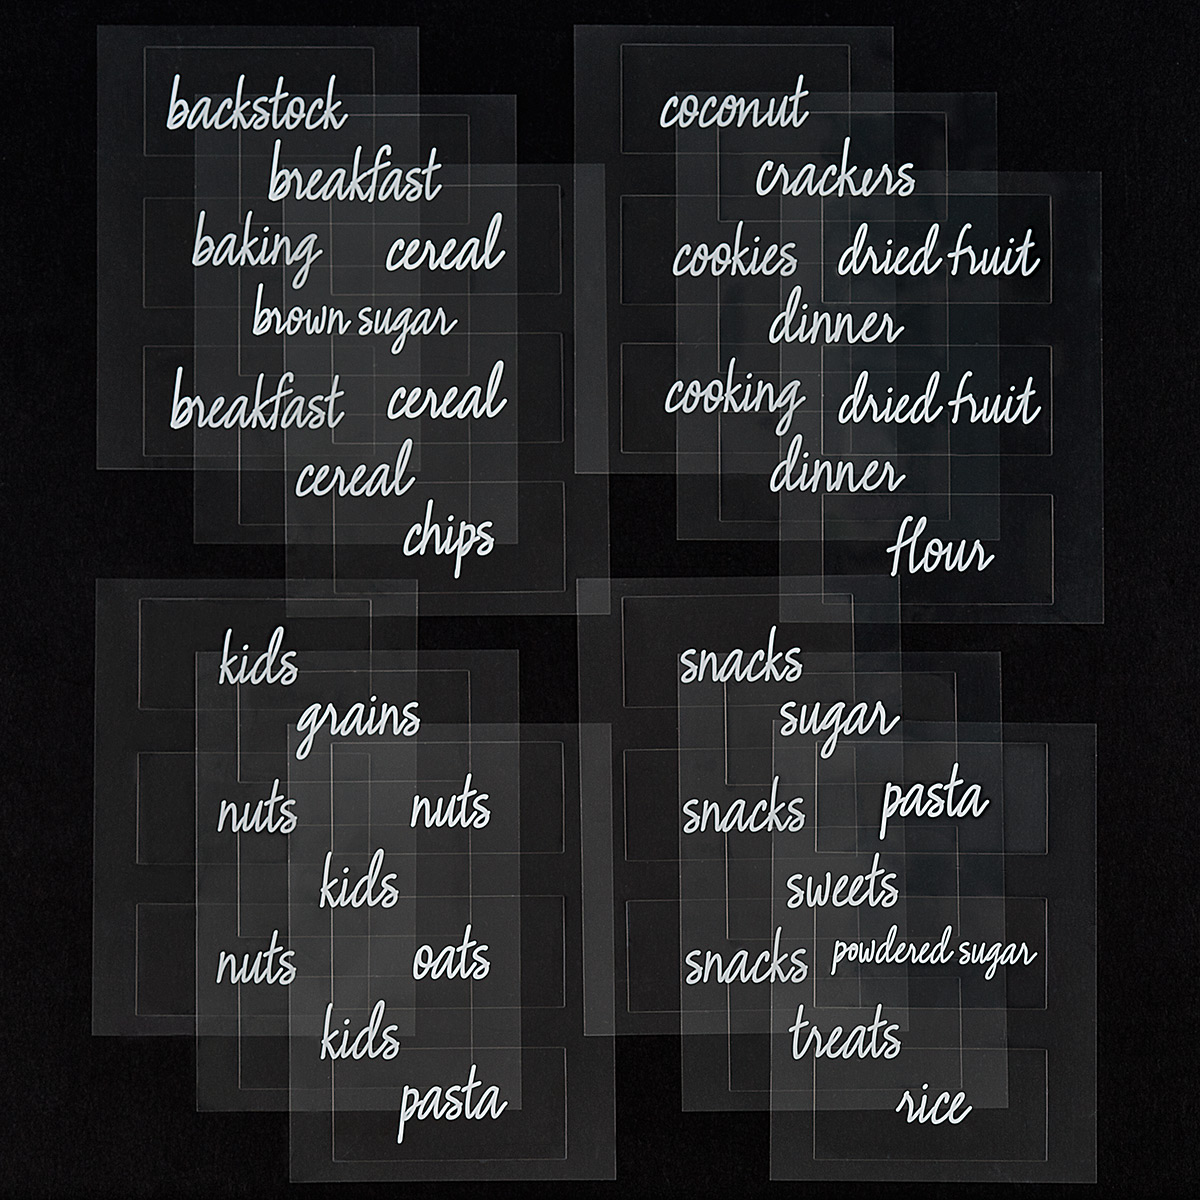
- Label everything in your pantry. I once ruined a delicious dessert by adding baking powder, thinking it was confectioner’s sugar!
- Add the expiration date for each item.
- PRO TIP! If this is the first time you’re decanting your food, you can also add the date of when you decanted the item. This will show you how long it takes you to go through each ingredient.
- Label it using a chalk pen or dry-erase markers, write-on labels, chalkboard label stickers or of course, create your own as I did with my Cricut machine here.
- Now sort like with like of the items that you have decanted. For example, rice, beans, grains like quinoa and barley, etc.
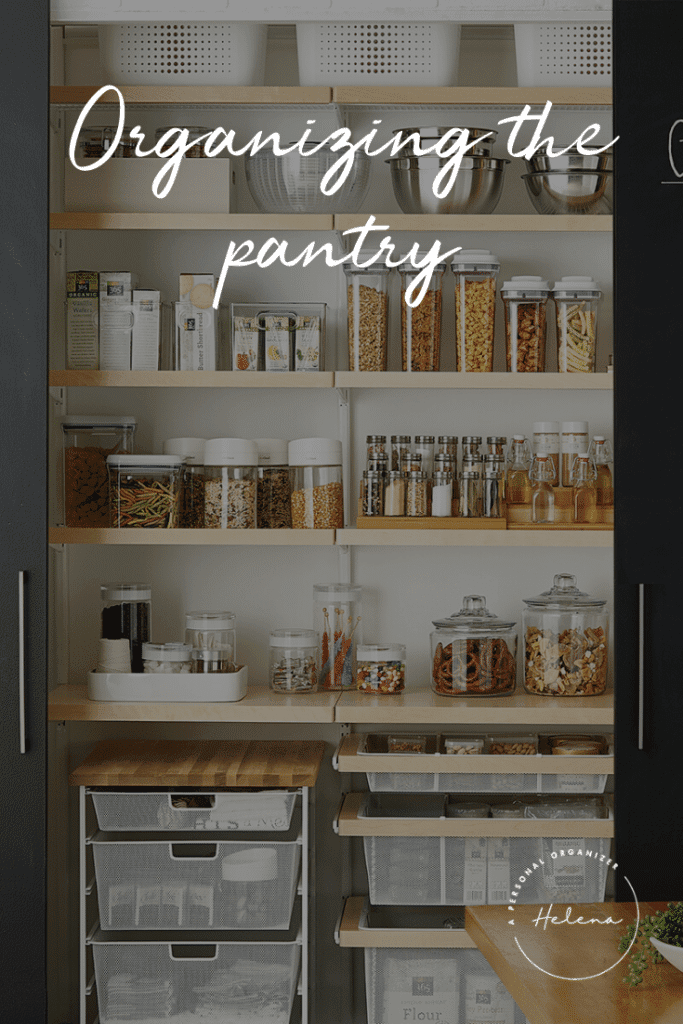
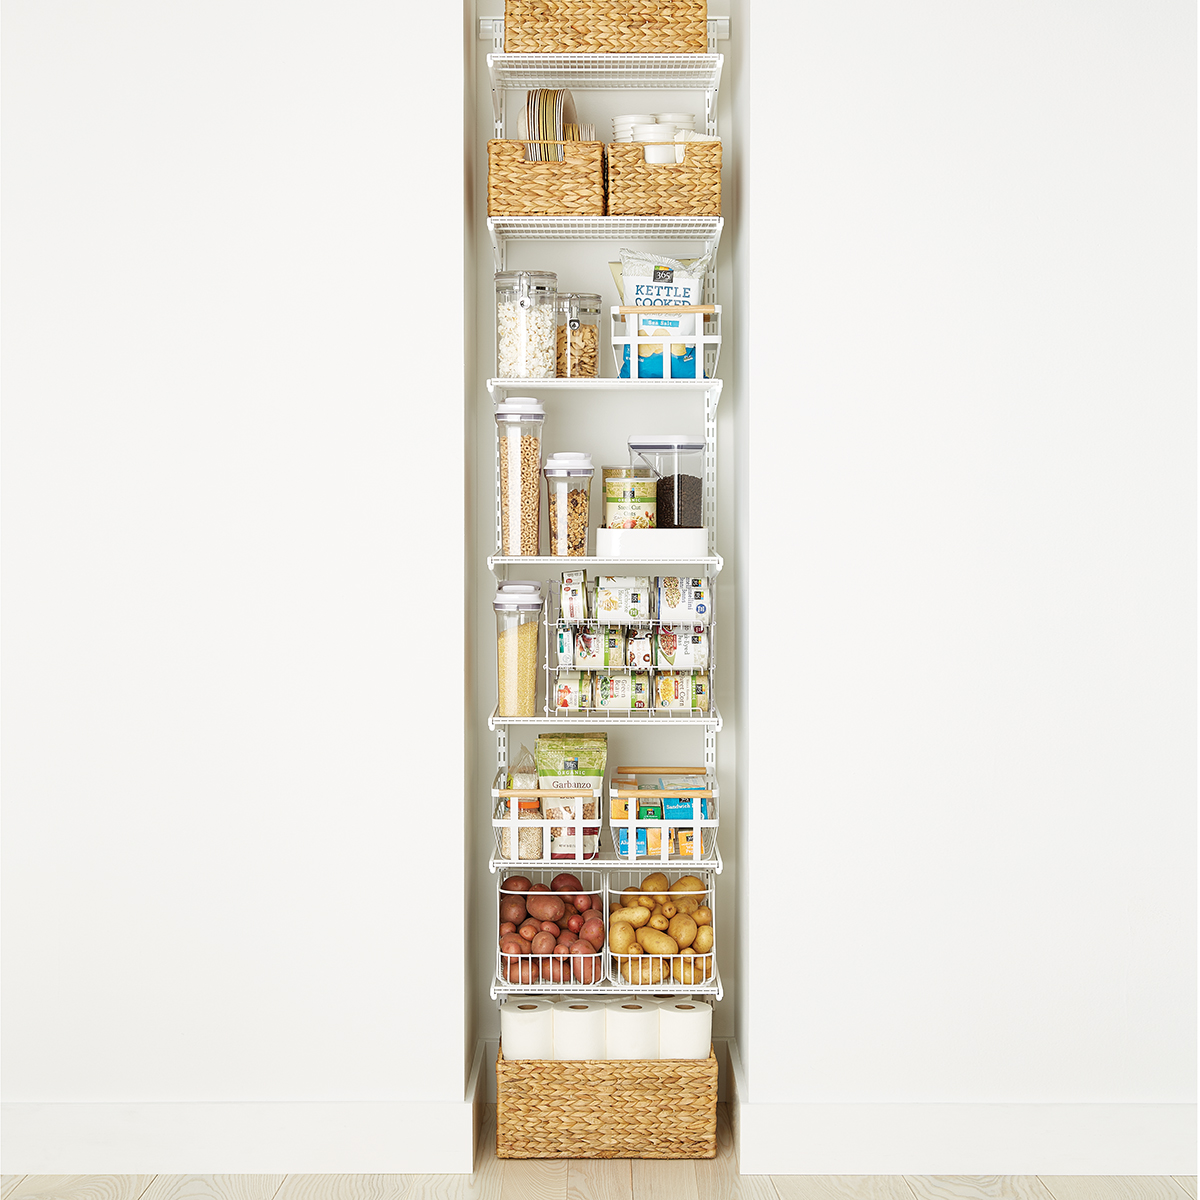
- The final step will be putting it all back. Try to make the most of your space by placing items you use most at eye-height shelves where you can easily reach them.
- Review it! I recommend you keep any newly organized space in “observation status” for several weeks. Here at home, for example, this means that I don’t set anything in stone until I feel it’s working well for everyone using the space. I recently organized our pantry, and I reorganized the snacks and breakfast cereal shelves several times. So don’t let yourself get stuck on this.
For even more detailed pro tips on decanting, you can read our full post dedicated to decanting pantry items here.
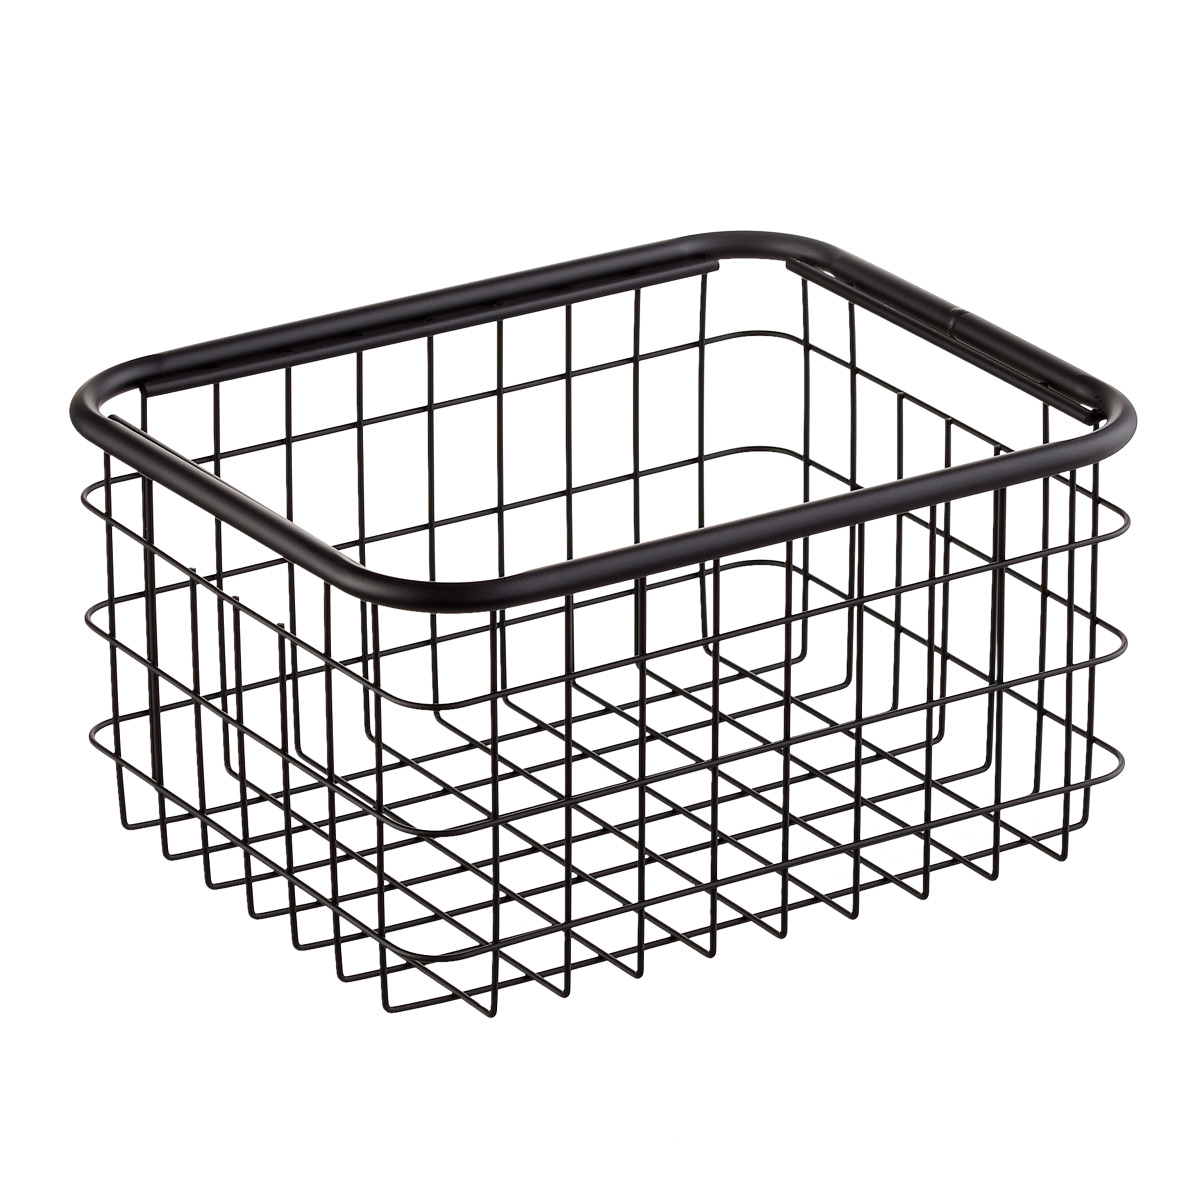
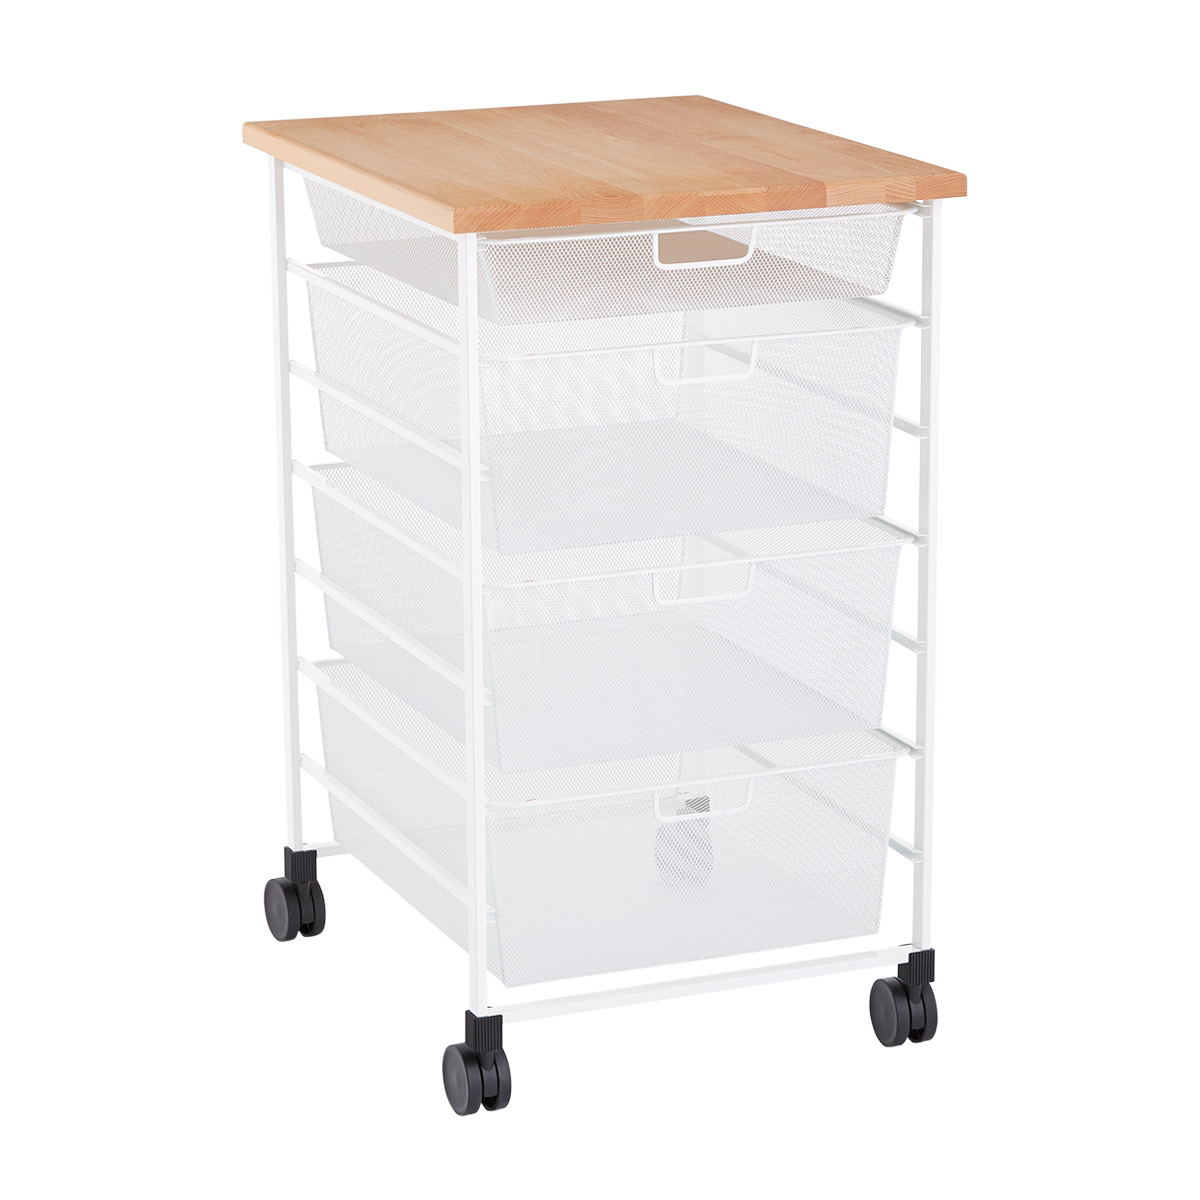
Pantry Organizing Products

Wrapping it up
At this point, you should have all of your dried goods decanted, and your pantry should be organized and look pretty! It is now ready for you to be a meal and snacks master!
You will not believe how much having a well-organized pantry will transform the time in your kitchen.
Want more inspiration and tips for organizing your pantry? Check out these reader favorites:
Organizing Planners
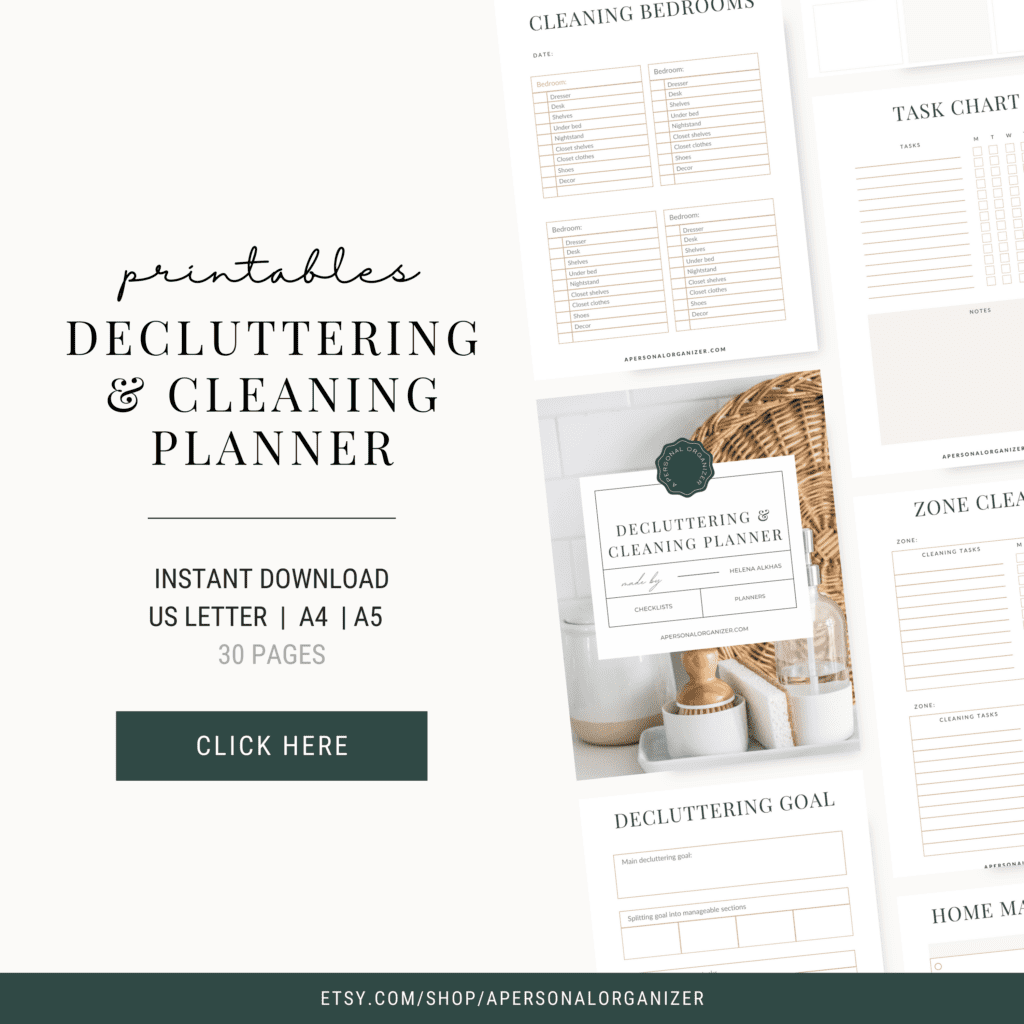
Decluttering & Cleaning Planner
Kick overwhelm to the curb with all checklists and forms to organize your home from top to bottom and the cleaning printables to plan a cleaning routine unique to your family’s needs and schedules.
More Home Organizing Tips
Tips and ideas to help you prepare and enjoy this special holiday with your friends and family.